How To Put A Decal On A Truck?

Decal is an easy way to personalize your vehicle.
It’s also a great way to get people talking about you and your business, which means more customers! Decals for truck can be applied in a variety of ways.
Here are tips you can use when applying one on your truck:
Decal Positioning

Here’s how to go about it:
1. Identify the Position
The first part of this process is to figure out where you would like to place the decal and how it looks. The position is dependent on the purpose of having it on the truck. It could be to decorate, advertise, or for identification.
Doing this will also help you plan on its application. Especially if it is a large decal that could go on two truck parts.
2. Take Measurements
Using a tape measure, you can determine how big your truck’s back is. Measure the distance from the bumper’s end to the location where your decal will begin and quantify the center. Once you have this information, you can choose an inch or two larger decals on each of those measurements so it will fit nicely on your truck!
3. Use Centering Tools
First, mark the center of the decal by folding it into two. Place it on the truck and stick it with tape. To help you center it, use a measuring tape, a leveler, or a ruler to ensure you place it right.
Prep for the Application
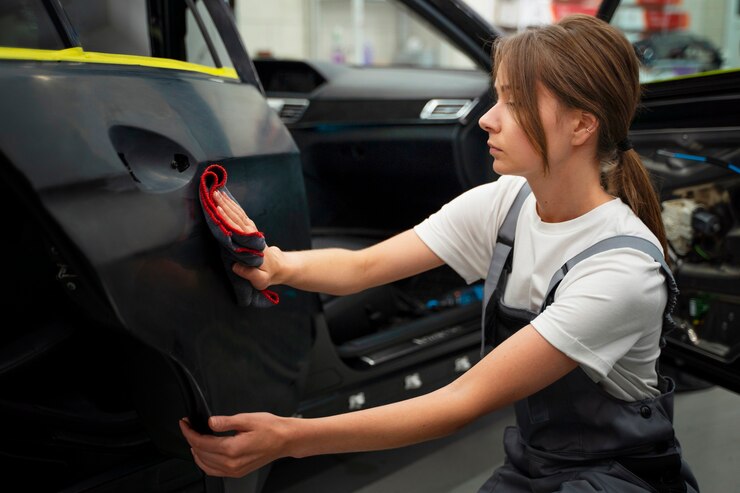
Before sticking down the decal, clean and completely dry the surface to avoid bumps and wrinkles. You can wipe it down with a dry or microfibre cloth. Also, you can use a window cleaner solvent.

Applying the Decal
Once you have the decal where you want it, you will start to stick it on from one end to the other. Working in sections will help you do it without struggling. Start by peeling off part of the sticky side from the backing paper and cut this part off with a razor or scissors. Go ahead to stick the decal using a squeegee.
Avoid pulling it while placing it; instead, let it hang naturally and work through it. When you get to the end, stick the middle first and work through the rest of the sticker.
Avoid using rough items to place down the decal because they will leave scratches on it and the truck.
If after application you notice some bubbles, here are three tips you can use to get rid of them;
- Poke the bubble and push the air toward the edge using a squeegee
- Soften the bubble by using a hairdryer and push the air out

Wet Method Of Application
Below are the steps:
- Clean the truck surface you intend to use
- Spray clean water on the freshly cleaned surface at a sharp angle.
- Tear the vinyl-backing away slowly from the application tape holding the vinyl image.
- Then, spray clean water on the vinyl image. However, too much water can cause issues with smaller, detailed decals. Therefore, put only a little water if your decal has small lines and details. The more water you apply to the truck’s surface, the more quickly you slide the graphic around before it starts to stick.
- Once everything is lined up, squeegee out any water and air bubbles by working your way out from the center of the image. Apply light pressure first and gradually increase it with each pass over the graphic.
- Place the image (still attached to the application tape) as accurately as possible on the desired surface. Move it around until it has been positioned as desired. Watch out for the fine details and edges.
- Allow the application tape to dry on the surface with the image for about an hour. Consider using direct sunlight and heat to speed up the process. Floor decals can take up to a day to apply, as can cold, humid, and rainy days.
- When the shipping tape is dry, start peeling it off at a sharp angle to keep your image on the surface. If the vinyl is not sticking, your surface isn’t clean, or the vinyl isn’t dry yet. Lay back down, squeegee a few times, and give the image the time it requires to dry and adhere if it comes off the surface while still adhering to the application tape.
Common Mistakes People do During Decal Application
Here are some common mistakes people make when applying decals on a truck:
- Overpulling the decal which could lead to lifting.
- Rushing through it. Take your time to set it right, and leave no room for error. Otherwise, you have an awkward-looking decal because you did not take the time to measure it or have wrinkles all over it.
- Using too much water when cleaning your vehicle’s surface. Too much water can make it difficult for the adhesive to stick properly to your paint and create bubbles under the decal when applying it.
As you can see, the procedure is straightforward, but it can be challenging if you have never applied decals before. Use a clean surface and an even layer of glue whenever possible. Ensure the decal sticks properly before it gets too hot and starts curling and peeling.
Additional:


